
The first signs a gasket is giving up
A gasket is meant to seal the door or lid so heat, steam and wash water stay where they belong. When that seal starts to harden, crack or pull away, the machine has to work harder and the symptoms usually show up before the gasket looks completely ruined.
On an oven you may notice food taking longer to colour, the front of the unit running hotter than normal or steam escaping around the door frame. On a dishwasher the clues are often puddles near the door, poor wash temperature and water spraying where it should not. In fryers, a worn seal can let heat escape and put extra pressure on the control settings.
- Longer cooking or wash cycles
- Visible gaps, splits or flat spots on the seal
- Steam, grease or water leaking from the door edge
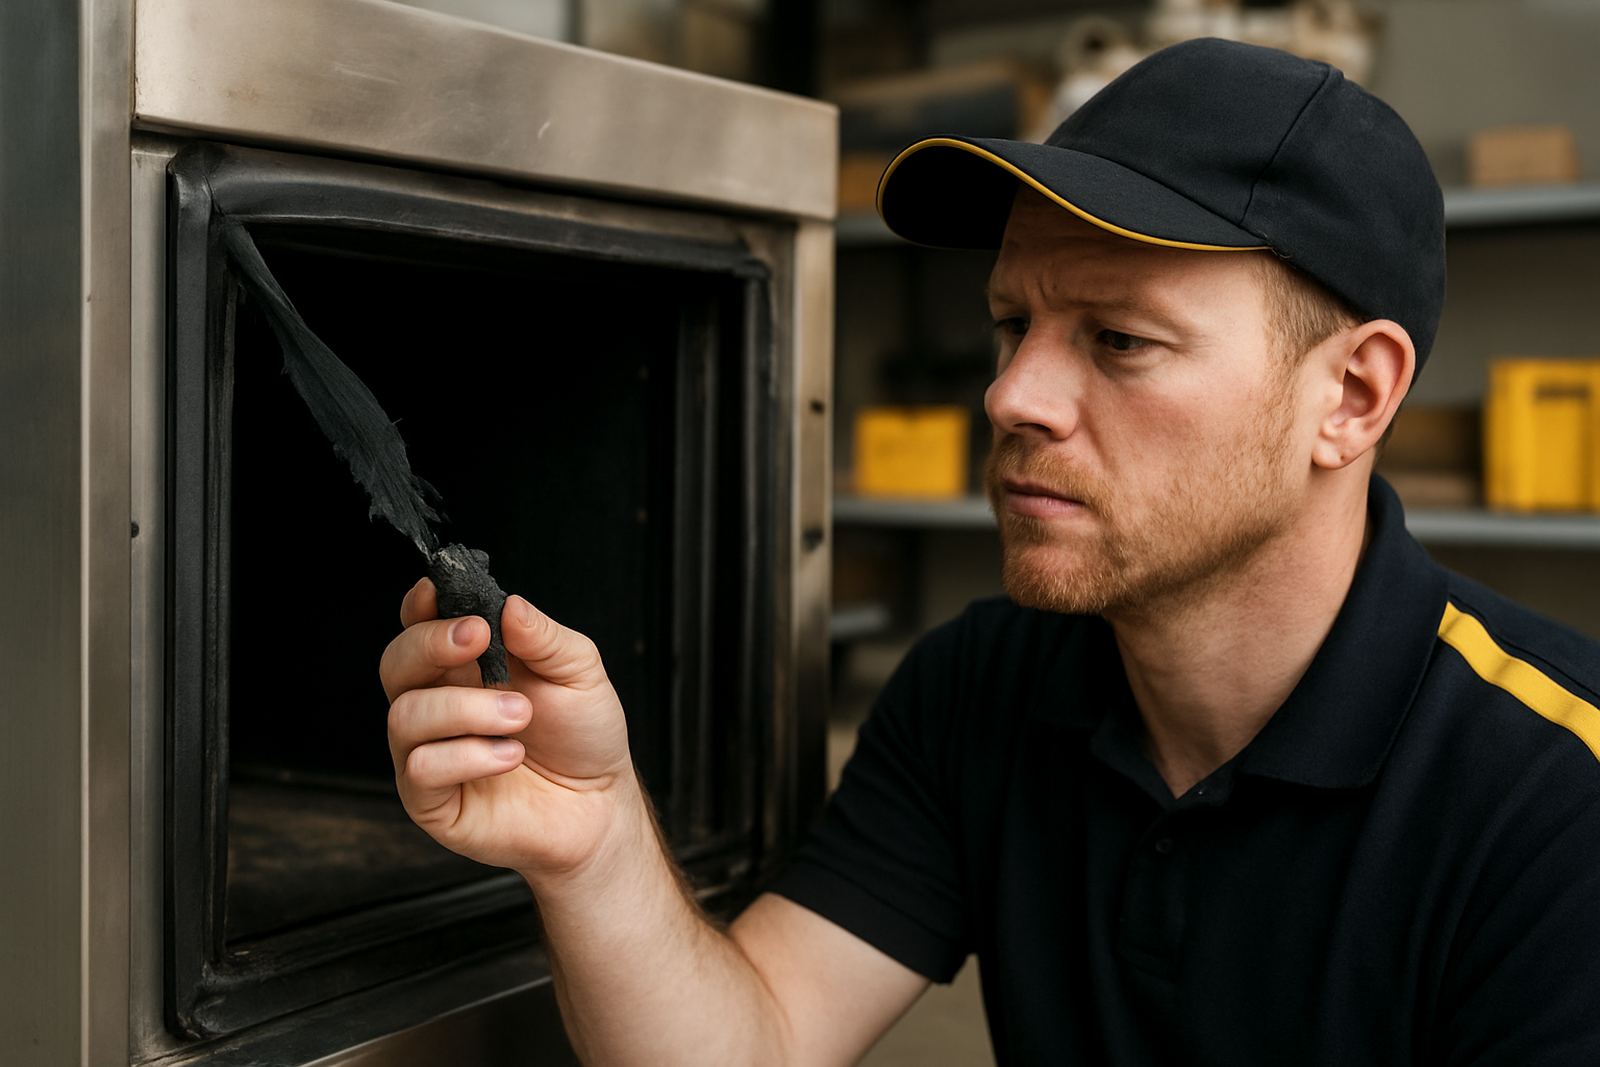
- Burn marks or hard, shiny rubber that has gone brittle
If staff keep turning the temperature up to compensate, the fault gets masked for a while but the energy use climbs. That is money gone every shift.
Why a small seal fault becomes a costly problem
People often leave a gasket until it fails completely because the machine still switches on and seems to be working. The trouble is that a weak seal can cause a chain reaction. Heat loss forces longer run times, longer run times mean more wear, and the extra strain can damage elements, thermostats, switches and door hardware.
In a coastal kitchen, especially around Durban or the Cape, salt air and humidity can speed up rubber hardening and metal corrosion. In inland sites with heavy daily use, the damage is often caused by heat cycling and cleaning chemicals. Either way, a gasket that looks a bit tired can stop sealing properly long before it falls off.
For dishwashers, a bad seal can let hot water and vapour escape which affects hygiene and drying. For ovens, even a few millimetres of leakage can throw off baking and roasting times. That is why a simple gasket check should sit alongside other routine checks, just like burners, elements and thermostat calibration.
What to check before you order a replacement
Before anyone starts replacing parts, the right gasket has to be identified. There are many profiles, lengths and corner styles, and the wrong one will either not fit or will fail again quickly. Measure carefully and look at how the seal sits in the channel or frame.
At FoodServ Parts Store, part identification and compatibility checks matter because commercial kitchen equipment often looks similar on the outside but uses different seals inside. A gasket from one oven door may be close in size but wrong in thickness, magnet type or fixing style. That can leave gaps and still cause heat loss.
- Measure the full perimeter, not just one side
- Check if the seal is push-in, clip-in or fastened
- Look for corner joints, magnets or formed edges
- Note the equipment type and model details if available
If you are unsure, take a clear photo of the door edge and the old gasket, then compare it properly before ordering. A five minute check can save a return trip and a lot of downtime.
A Midrand example from a busy lunch rush
A takeaway kitchen in Midrand noticed their combi oven was taking longer to recover between batches. The team blamed the load-shedding schedule at first, then the thermostat, then operator error. In the end the door gasket had flattened on the hinge side and was letting heat pour out every time the door was shut hard.
Once the gasket was replaced and the door seal checked again, the oven heated more evenly and the staff no longer had to add extra minutes to each tray. The lesson was simple: when cooking times drift, do not assume the element or control has failed first. A worn seal can be the real cause and it often costs less to fix than the wasted power and delayed service.
That same issue shows up in Pretoria schools, hotel kitchens in Cape Town and canteens in Bloemfontein. Busy kitchens repeat the same motions all day and seals take the punishment. The fault is common, but it is still easy to miss.
Replacement, fitting and post-fit checks
Some gasket jobs are straightforward, but others need careful fitting so the seal seats evenly all the way around. If it is stretched during installation, the corners can lift. If the door is out of alignment, a new gasket will not fix the real issue. That is why fitting and post-fit testing matter just as much as the part itself.
FoodServ Parts Store supports gasket fitting, onsite parts support and post-fit testing for commercial kitchens that need the job done properly the first time. The aim is not only to swap a part but to make sure the equipment closes correctly, heats evenly and holds temperature as it should.
- Remove old residue before fitting the new seal
- Check hinges, latches and door alignment
- Test for leaks with the unit at working temperature
- Confirm the door closes without forcing it shut
A neat fit helps the new gasket last longer and protects the rest of the machine from strain.
How to avoid repeat gasket failures
Most repeat failures come from the same few causes: rough door handling, harsh cleaners, excessive heat, poor fitting and general wear from heavy daily use. A gasket should be part of your scheduled checks, not an afterthought once the leak is obvious.
Train staff to close doors properly, wipe spills before they bake on and report any steam, water or heat loss early. If the seal feels hard, sticky or uneven, do not wait for the next service cycle. In many kitchens, especially those running long hours through winter or during load-shedding recovery, a small fault can turn into a whole shift of lost output.
For commercial sites from Midrand to Durban, the best approach is simple: inspect, identify, fit the right part and test it before the pressure is back on. That keeps the kitchen moving and the equipment doing its job.